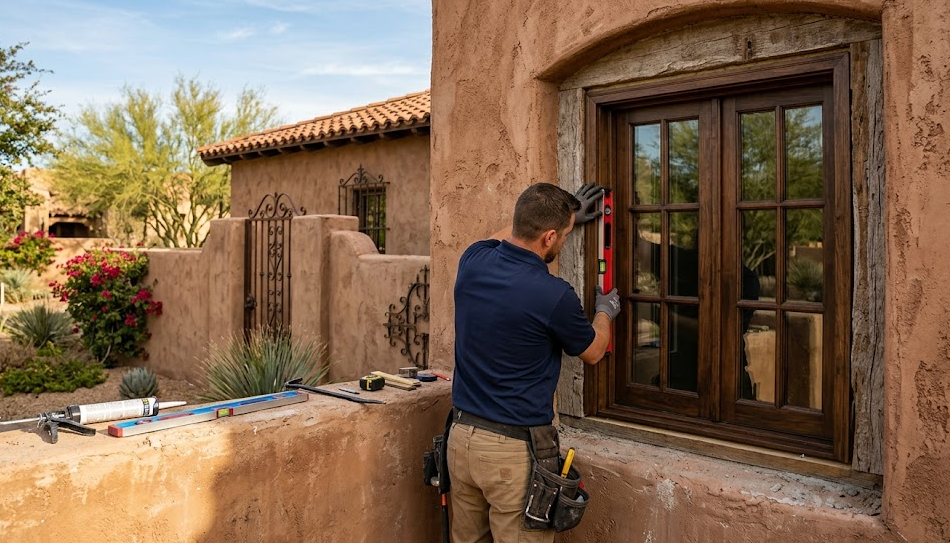
Professional window installation typically takes one to three days for a full home, depending on window count and material. The process includes a pre-installation assessment, removal of old windows, frame prep, new window fitting, sealing, and a final inspection. In Litchfield Park, AZ, homeowners also need to account for desert heat and dust during scheduling.
Replacing windows is a big decision. Whether your home has original wood-frame windows from decades ago or aging vinyl units that no longer seal well, understanding what happens during installation helps you plan ahead and avoid surprises.
This guide walks through the full process, from the first assessment to the final walkthrough, with practical detail for Litchfield Park and West Valley homeowners.
Key Takeaways
- Professional window installation usually takes 1-3 days for a standard home.
- Costs vary based on window type, frame material, and home size.
- Desert climate in Arizona affects timing, sealing, and material choice.
- DIY installation carries higher risk of air leaks and warranty issues.
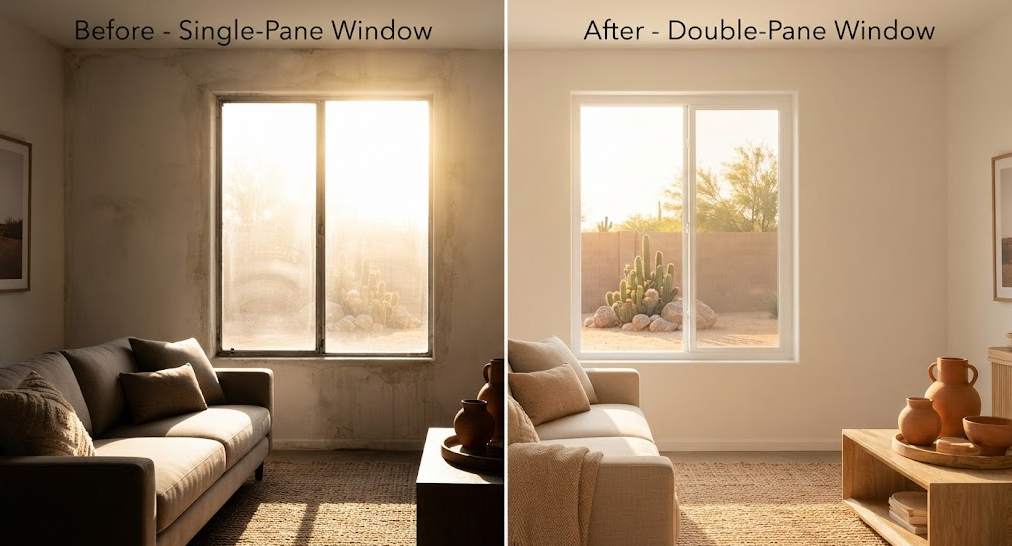
- Proper installation directly affects energy efficiency and comfort.
What Is Professional Window Installation?
Professional window installation is the process of removing existing windows and fitting new ones using trained labor, proper tools, and manufacturer-approved techniques. It includes measuring, frame preparation, sealing, and finish work that a licensed or trained installer handles from start to finish.
Unlike a simple product swap, it involves checking for structural issues, moisture damage, and proper fit before the new window ever goes in.
Why Does Professional Installation Matter?
A window is only as good as its installation. Even a high-quality window can leak air, let in moisture, or fail early if it’s not fitted and sealed correctly.
In Litchfield Park’s climate, where summer heat regularly pushes past 100°F, a poor seal can mean higher cooling costs and uncomfortable rooms. Professional installation reduces that risk by making sure the frame, flashing, and insulation are done right the first time.
Step-by-Step Guide: What Happens During Installation
Step 1: Pre-Installation Assessment
An installer inspects your existing windows, checks for wood rot or frame damage, and confirms measurements. This step often reveals issues that aren’t visible from inside the home, like deteriorated framing behind stucco.
Step 2: Product Confirmation and Scheduling
Once measurements are confirmed, your windows are ordered to the exact specifications of each opening. Custom window solutions, like true divided lite designs or low-E glass options, are finalized at this stage.
Step 3: Removal of Old Windows
Old windows are carefully removed, often one room at a time, to limit how long any opening is exposed. This step typically takes less time than people expect, often under an hour per window.
Step 4: Frame Preparation and Repair
Installers check for water damage, gaps, or rot around the opening. Any necessary repairs happen here, before the new window goes in. Skipping this step is one of the most common causes of future leaks.
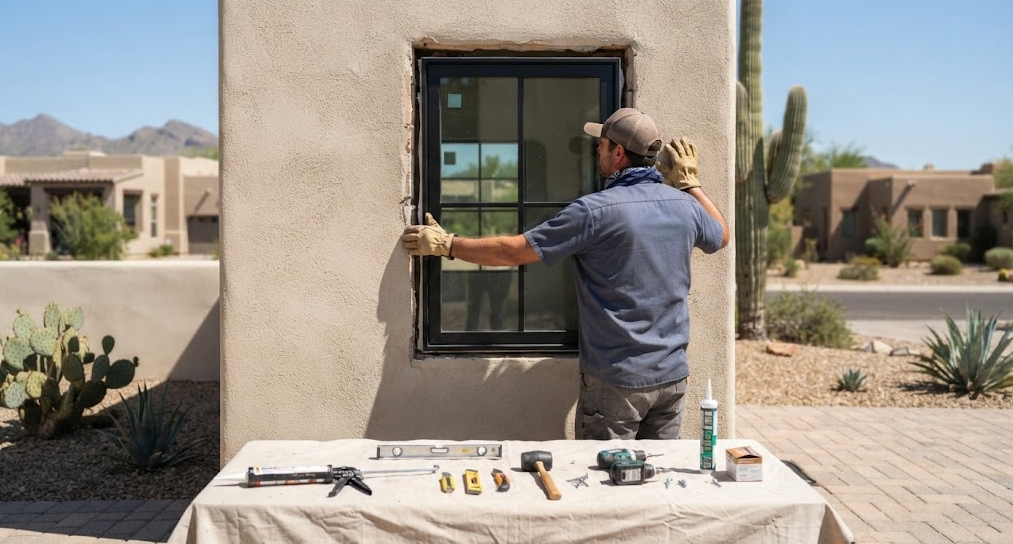
Step 5: New Window Installation
The new window is set into place, leveled, and secured. Proper shimming and fastening keep the window square, which affects how smoothly it opens and closes for years.
Step 6: Sealing and Insulation
Gaps around the frame are sealed and insulated to block air and moisture. In hot, dry climates like Arizona’s, this step is especially important for keeping conditioned air inside.
Step 7: Exterior and Interior Finish Work
Trim, caulking, and paint touch-ups are completed so the finished window looks seamless from both inside and outside the home.
Step 8: Final Inspection and Walkthrough
The installer tests each window for smooth operation, checks the seal, and walks through the work with the homeowner before calling the job complete.
How Much Does Professional Window Installation Cost?
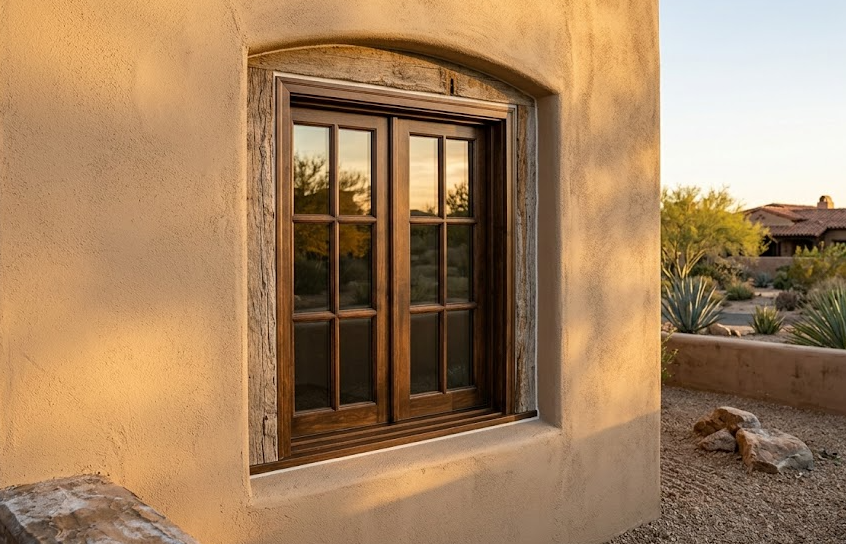
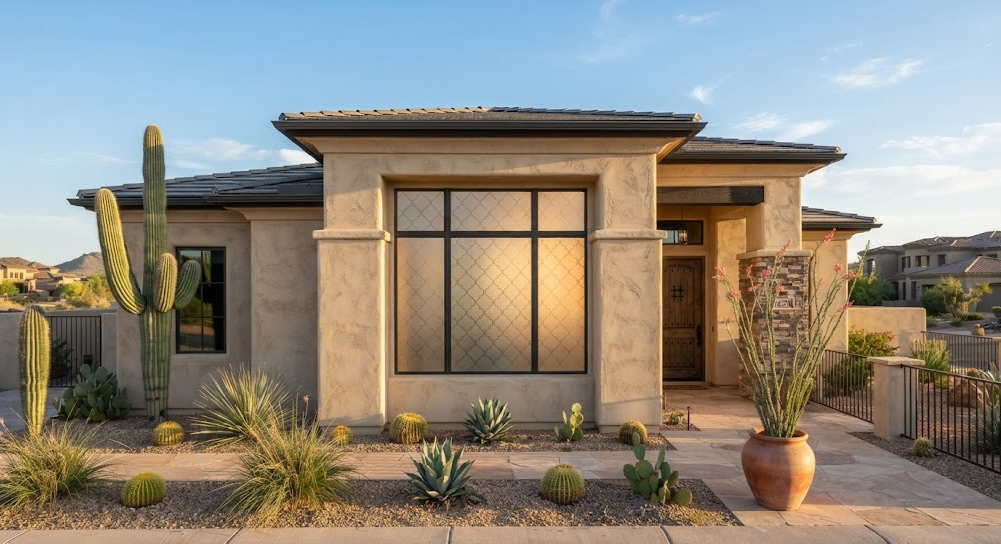
Costs vary based on window size, frame material, glass type, and how many windows are being replaced. Custom or historic-style windows, such as true divided lite wood frames, often cost more than standard vinyl units due to materials and craftsmanship involved. Getting a home-specific quote is the most reliable way to know actual pricing for your project.
How Long Does It Take?
For a typical home, professional installation often takes one to three days. Larger homes, custom orders, or historic properties with unique window openings can take longer, since more care goes into fitting and finish work.
DIY vs. Professional Installation
|
Factor |
DIY Installation | Professional Installation |
|
Sealing quality |
Inconsistent |
Trained and tested |
|
Warranty coverage |
Often voided |
Typically preserved |
|
Time required |
Longer, trial and error |
Efficient, experienced crew |
|
Risk of damage |
Higher |
Lower |
| Tools needed | Must be purchased/rented |
Provided by installer |
Who Needs Professional Installation?
Homeowners with historic or custom-style homes, multiple window replacements, or structural concerns around existing openings typically benefit most from professional installation. It’s also the better choice for anyone wanting to preserve a manufacturer warranty.
Who Might Not Need It?
A homeowner replacing a single, simple window in a newer home with standard framing might reasonably handle a basic swap. Even then, sealing and insulation still matter for performance.
Common Mistakes to Avoid
- Skipping the frame inspection step
- Choosing the cheapest option without checking energy ratings
- Ignoring local climate needs when selecting glass type
- Rushing the sealing and insulation process
- Not confirming measurements before ordering
Pre-Installation Checklist
- Confirm measurements for each window opening
- Choose frame material and glass type
- Clear the area around each window inside and out
- Ask about warranty coverage
- Confirm installation timeline
- Plan for pets or children during installation days
Expert Tips
- Ask whether low-E glass is recommended for your home’s sun exposure, since west-facing rooms in Litchfield Park often get intense afternoon heat.
- Request a written scope of work before installation day.
- Confirm how installers handle stucco or historic trim repair, since these details affect the finished look.
Is Professional Window Installation Worth It?
For most homeowners, yes. The upfront cost is often offset by better energy performance, fewer callbacks for leaks or drafts, and a finished look that matches the rest of the home. It’s especially worth it for historic or custom-style properties where fit and detail matter more than a standard product swap.
Final Recommendation
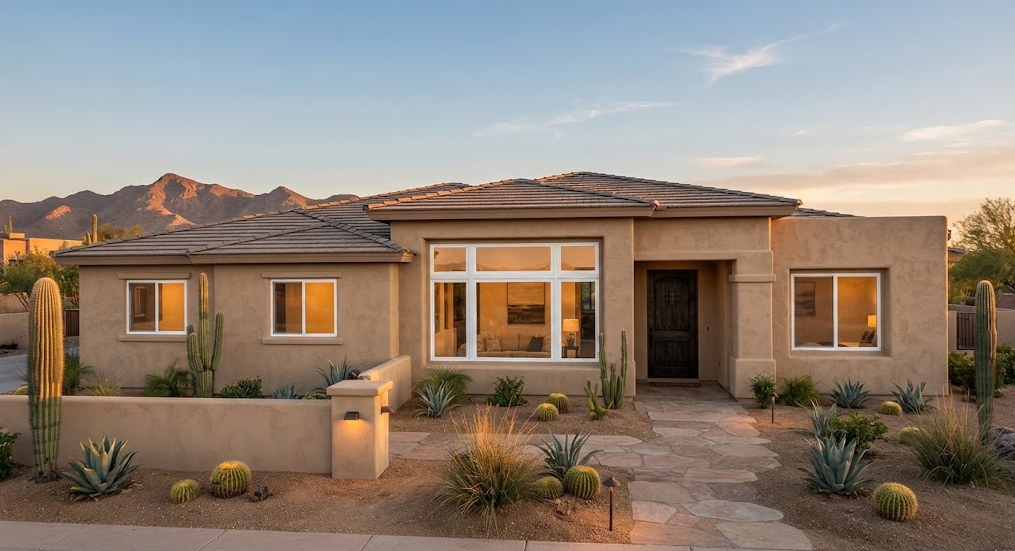
Professional window installation protects your investment. It reduces the risk of air leaks, structural issues, and voided warranties that often come with DIY attempts. For Litchfield Park homeowners dealing with intense desert heat and older home styles, working with an experienced local team makes a real difference in comfort and long-term performance.